Custom Fonts (7.1 Version)


Description
Add custom fonts to your Squarespace website. This plugin uses css editor and works with Squarespace 7.1.
How To Install
From your Squarespace account, go to the Custom CSS Editor. Click Manage Custom Files and upload your font.

Once your file has been uploading, copy and paste the following code into the CSS Editor box.
// Custom Font //

@font-face {
  font-family: font-name-here;
  src: url(link-to-font);
}
Replace font-name-here with the file name as it appears in the actual file. This is important! See example below.
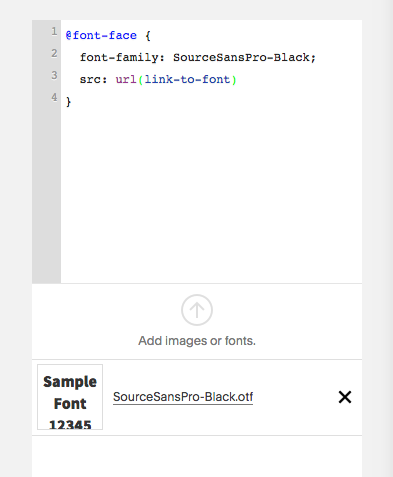
Next, add the font file’s link by replacing link-to-font. See the example below.
Copy and paste the following code into the CSS Editor.
// Custom Fonts - Headers //

h1 {
  font-family: font-name-here, web-safe-alternative-font;
}

// Custom Fonts - Paragraphs //

p {
  font-family: font-name-here, web-safe-alternative-font;
}
Customize
Change the h1 property to the text you are targeting.
This can be changed to either headers or paragraphs with targeting h1, h2, h3, h4, or p.
Replace font-name-here with the file name as it appears in the actual files.
